Building Basics
Note
LMB: left mouse button click, RMB: right mouse button click
To follow these building basics, create a new project in Eureka.
Adding a room
To help with drawing, press f to toggle grid snapping, press g to enable grid display, and press 5 to set the grid size to 32 units.
Press tab to switch to the 2D view
Press v to enter vertices edit mode
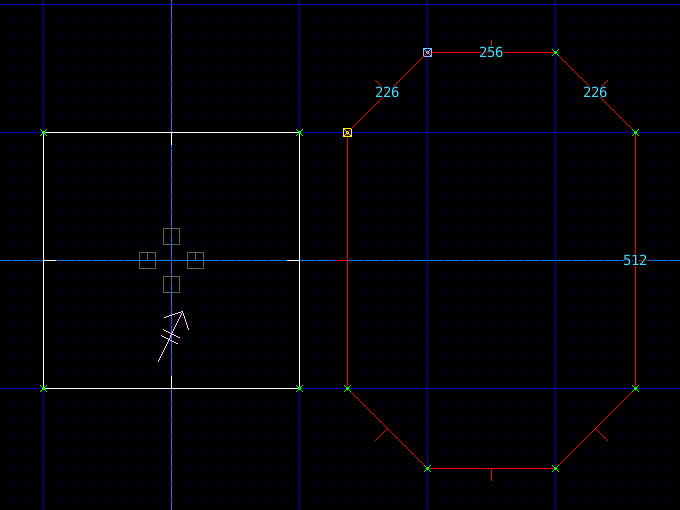
Use the RMB to draw a new sector. Make sure to keep adding vertices with the right mouse button, and to close the sector.
Texturing the new walls
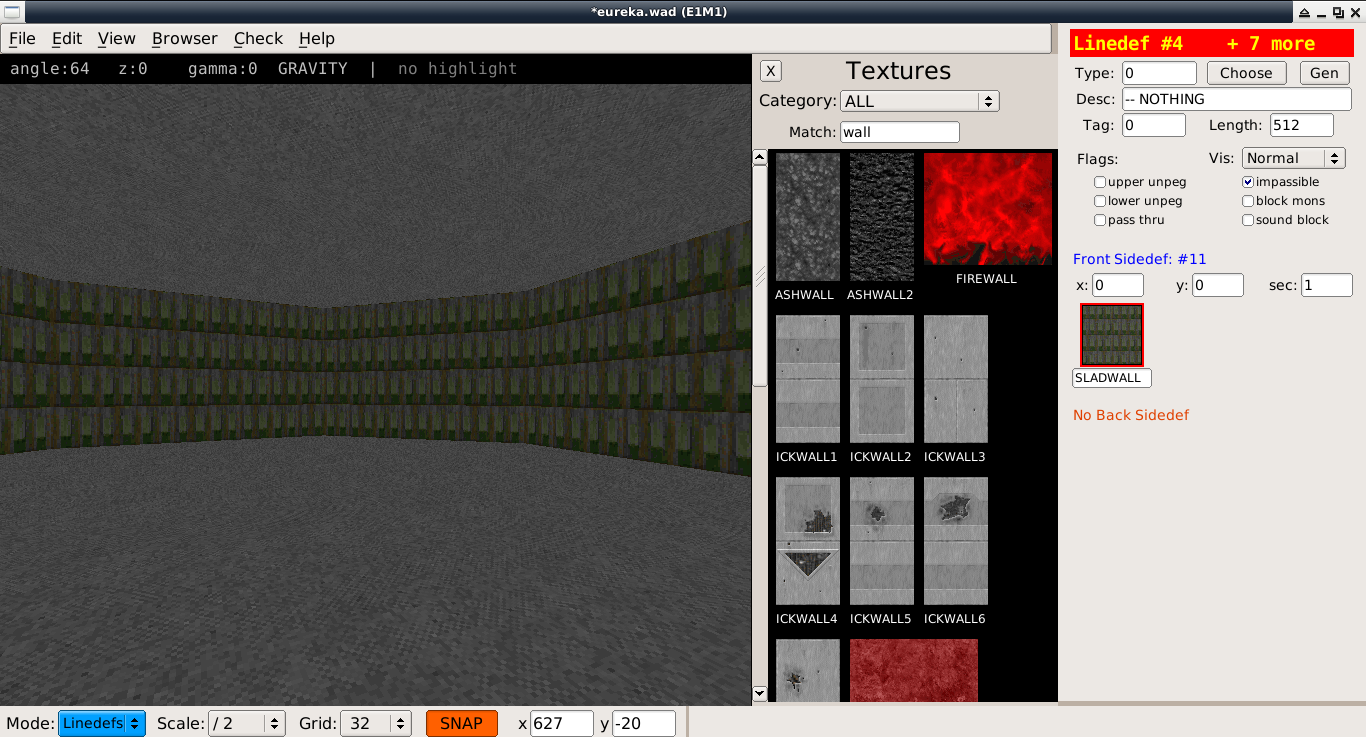
Press l to enter Linedef edit mode. The new Linedefs should be selected, if not click with the LMB and drag a box around them to select.
Position the mouse cursor inside your new sector and press ' to place the camera inside the room.
Press tab to enter 3D view
Click the front Sidedef texture button and pick the SLADWALL texture.

Texturing the new floor and ceiling
Press tab to return to 2D view
Press s to enter sector edit mode. The new sector should remain selected, if not click the LMB to select it.
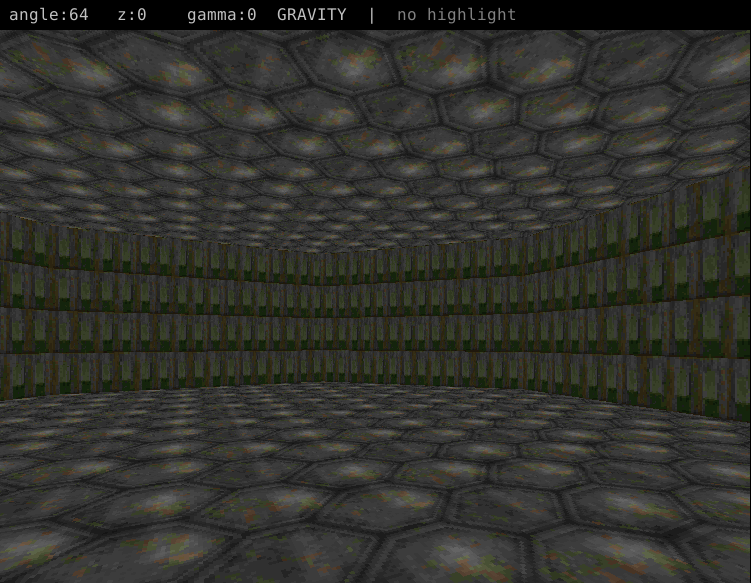
Press tab to return to the 3D view
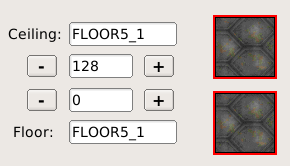
Click on both the Floor and Ceiling texture buttons, and select the FLOOR5_1 texture.
Joining rooms
Press tab to enter 2D view
Press v for vertices edit mode
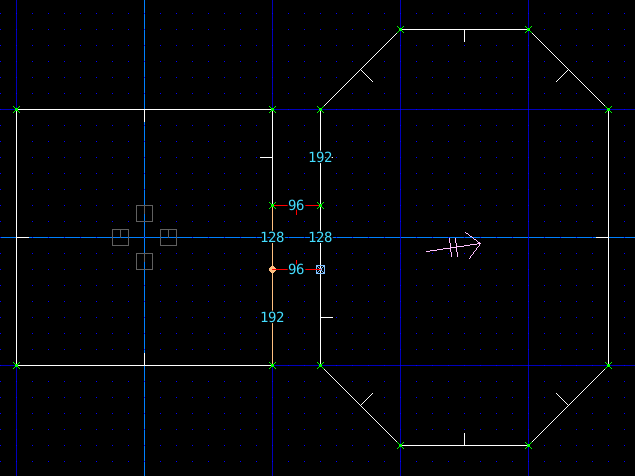
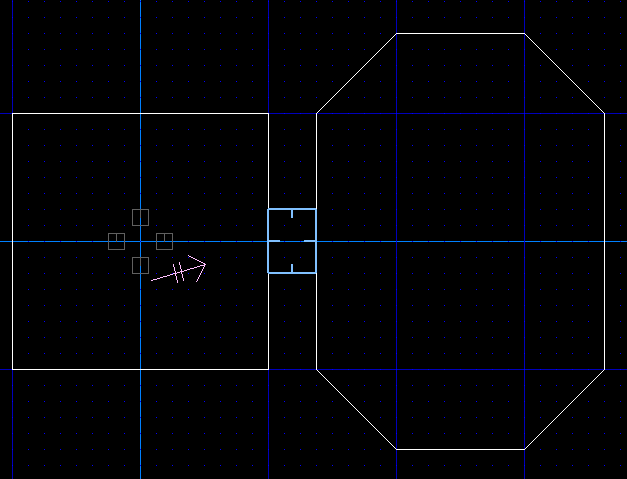
Click with the RMB to insert vertices that bridge the neighboring sectors
Make the line of the doorway 128 units in length, this is the size of the wide door texture
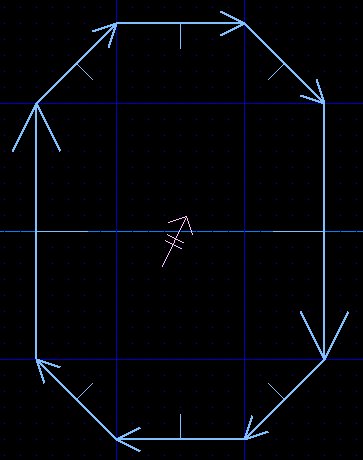
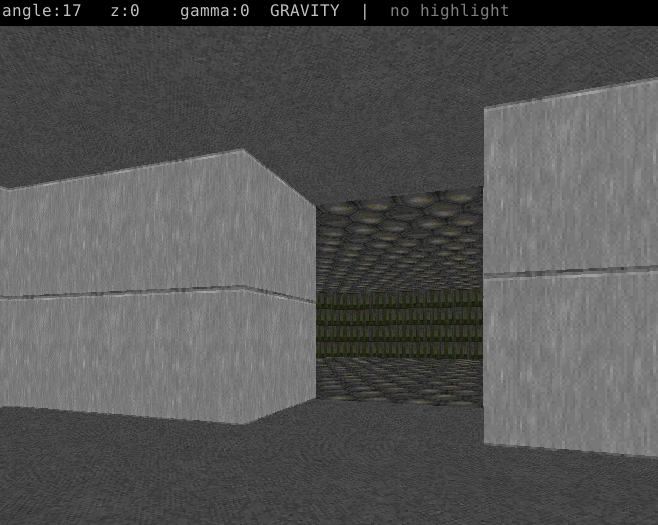
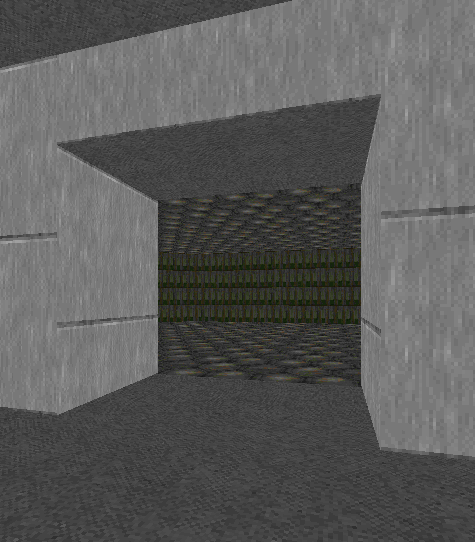
When the join is complete, the rooms are connected
Adjusting ceiling height
Press tab to enter 2D view
Press s for sector edit mode
Select the sector you want to adjust
Press tab to return to 3D view
Click the ceiling +- buttons to adjust the ceiling height
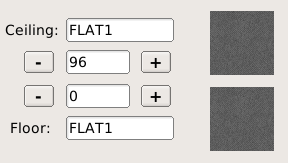
Alternatively press [] to adjust ceiling height via keyboard shortcuts
Texture alignment
Press tab to enter the 3D view
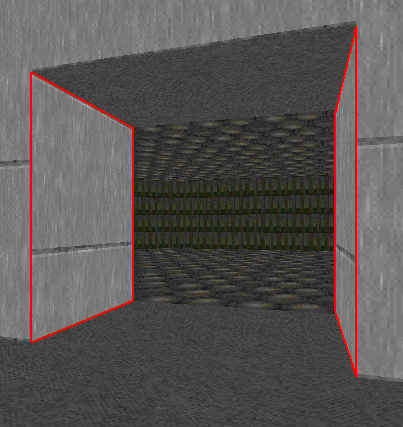
Press l to activate Linedef mode
Click with the LMB to select walls with misaligned textures
- Press these keyboard shortcuts to align:
x: align X offset with wall to the left
y: align Y offset with wall to the left
z: align both X and Y offsets with wall to the left
shift-x: align X offset with wall to the right
shift-y: align Y offset with wall to the right
shift-z: align both X and Y offsets with wall to the right
Alternatively press F1 to open the operations menu and select one of the align options.

Manual alignment
While in the 3D view and in Linedef mode, hold the r key while moving the mouse cursor to adjust the texture alignment. You can also select multiple surfaces to align at the same time.
Auto alignment
If you need to align multiple surfaces, you can use the auto-align feature:
In the 2D view, enter Linedef edit mode l
Highlight all lines to align
Press shift-A to auto-align offsets on all selected Linedefs
This shortcut only works in the 2D view