Doors
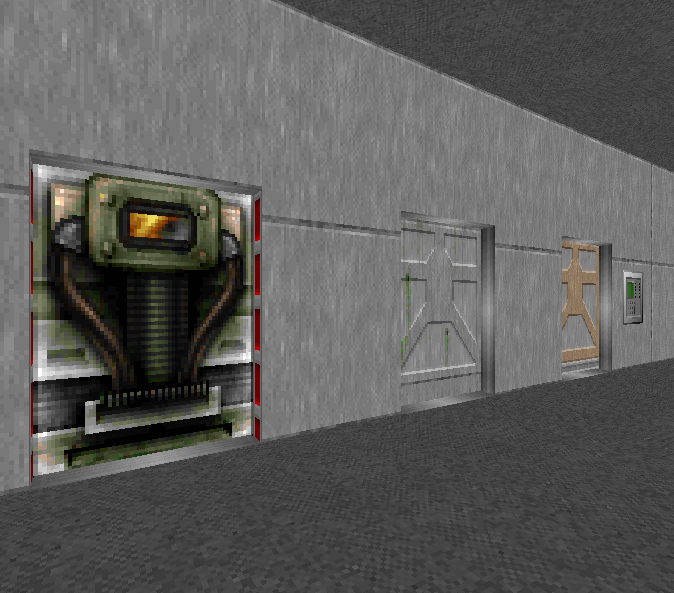
Manual, remote and locked doors.
Note
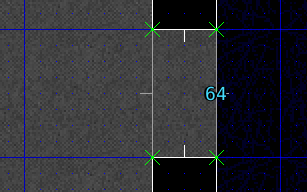
Door textures come in two sizes: 64 and 128. When making your doorway, opt for a passage width to match.
Building a door
Use this method to make a basic door. It can be used as a base for a manual or a remote door.
- Join two sectors together with a passage
- Increase the grid detail as needed by pressing 3-5
- Enter vertices edit mode (v)
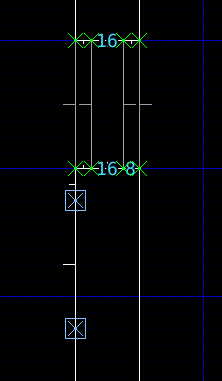
- Add vertices for the door inside the passage
- Enter linedef edit mode (l) and select the front/rear sides of the door
- The door raises into the ceiling, set the front upper sidedef texture to the ICKDOOR1 texture.
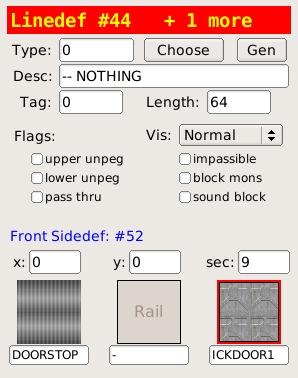
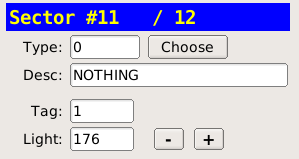
- Enter sector edit mode (s) and select the door sector

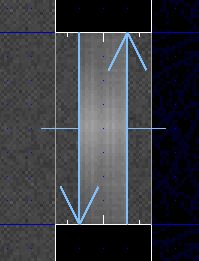
- Lower the ceiling all the way to the floor so that the door is closed. Use the Ceiling +- buttons or the [] keys.

Manual Doors
Manual doors open when the player performs the USE action on the door.
- Enter linedef edit mode (l)
- Select both linedefs of the door
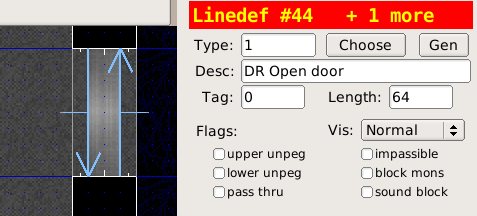
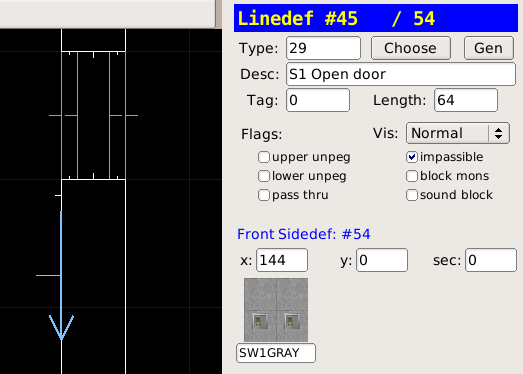
- Choose the Type of the linedefs as 1 DR Open Door
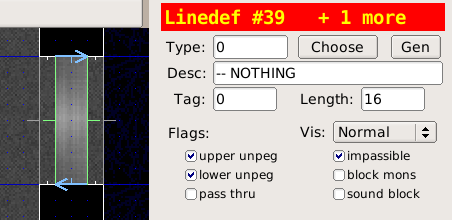
To make the door open on a fixed track (the sides stay still while opening and closing):
- Select the track linedefs
- Check the upper unpeg and lower unpeg options
Note
The door line specials indicates that the sector facing the back of the linedef is a door, this special does not need a tag either.
The DR special can be opened repeatedly, while D1 can only be opened once.
Locked Doors
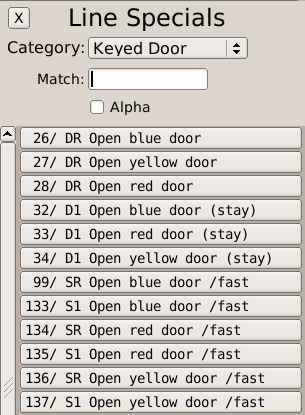
Doors that require a blue, yellow or red key to open are created similarly to manual doors. When choosing the door linedef type, pick one of the specials that target the keys:
Remote Doors
Remote doors are opened through a switch.
- Enter vertice edit mode (v)
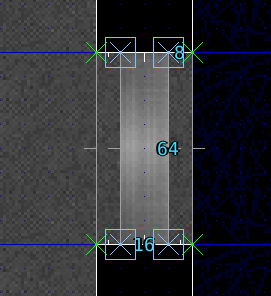
- Use the LMB to insert vertices along the wall, make the linedef 64 units long
- Enter linedef edit mode (l), select the new linedef
- Choose the SW1GRAY switch texture
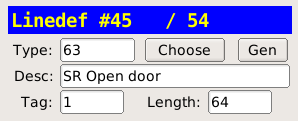
- Choose the linedef Type as 63 SR Door Open
- Move the mouse cursor over the grid to ensure focus is not stolen by the Line Specials panel
- Press ; then f to apply a fresh tag to the linedef
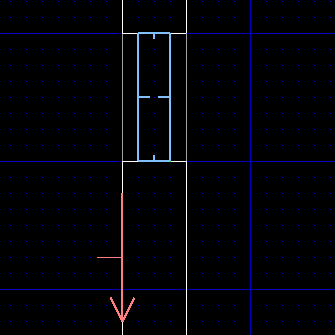
- Enter sector edit mode (s), select the door sector
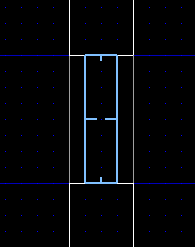
- Press ; then l to apply the last tag to the door sector
- Eureka highlights both the sector and the linedef that share the same tag. This shows us the two are linked:
Note
The SR line special indicates a switch that can be toggled repeatedly, while S1 is a switch that can only be toggled once.